


Turn off all notifications in UPS
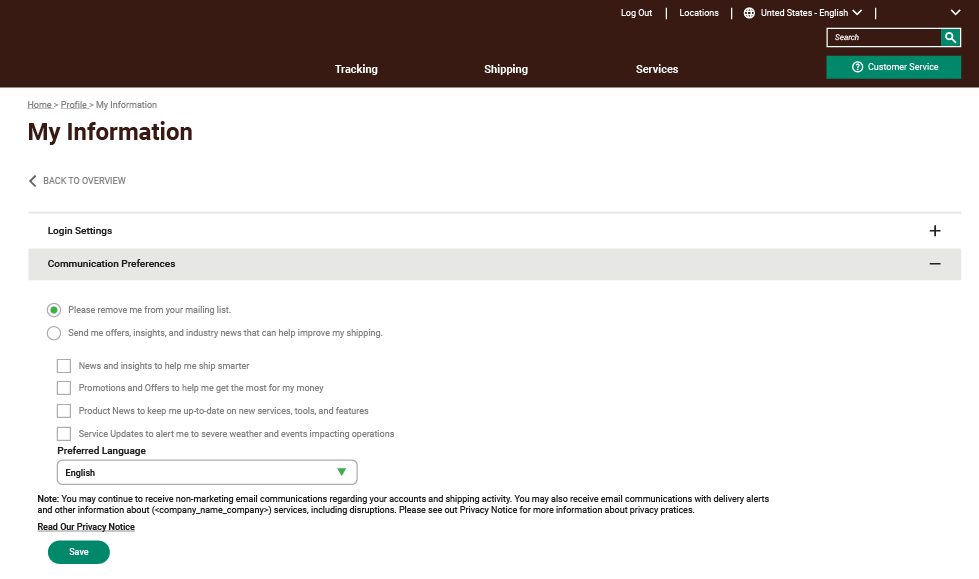
This is often the most convenient way to stop receiving those billing notifications. UPS notifications are turned off within the My Information section of your UPS account. You would just need to navigate to your name in the top right, tap on My Information and select Please remove me from your mailing list in the Communications Preferences. Make sure to save your preference before leaving the webpage.
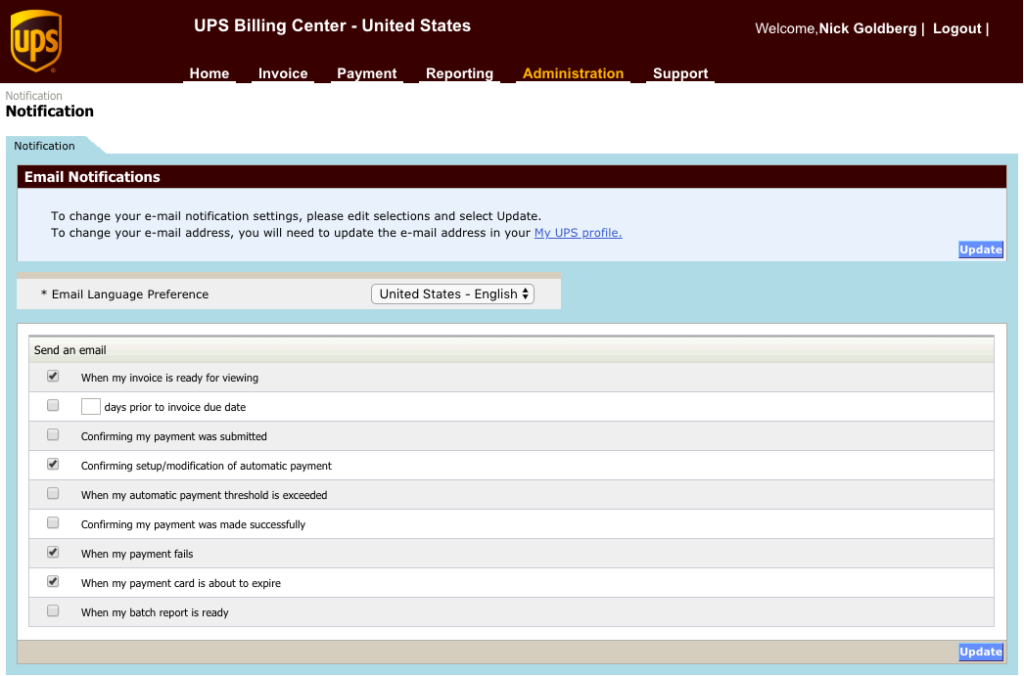
A second way to turn off UPS billing notifications is within the Notifications section of Online Billing. Tap on Administration tab and then select the Notifications tab. In this window you can choose the types of email notifications you would like to receive based on your personal preferences. Don’t forget to tap update when you are done so that UPS saves your settings.
Create an inbox filter for dispute denials
- Open Gmail.
- Check the checkbox next to the email you want.
- Click More.
- Click Filter Messages Like These.
- Enter your filter criteria.
- Choose a suggested rule, choose a destination folder, and then choose OK to complete the assignment of a rule.
- Choose Create Rule and go to the next step.
In the Create Rule dialog box, under When I get email with all of the selected conditions, select none or one or more of the available checkboxes. Under Do the following, select the check boxes for the action you want the rule to take when the specified conditions (criteria) are met. Select the Move the item folder check box.
- Choose Select Folder and pick an existing folder.
- Choose New to create a folder.
- Choose OK.
- Choose OK.
- Select the Run this rule now on messages already in the current folder check box, and then choose OK.
